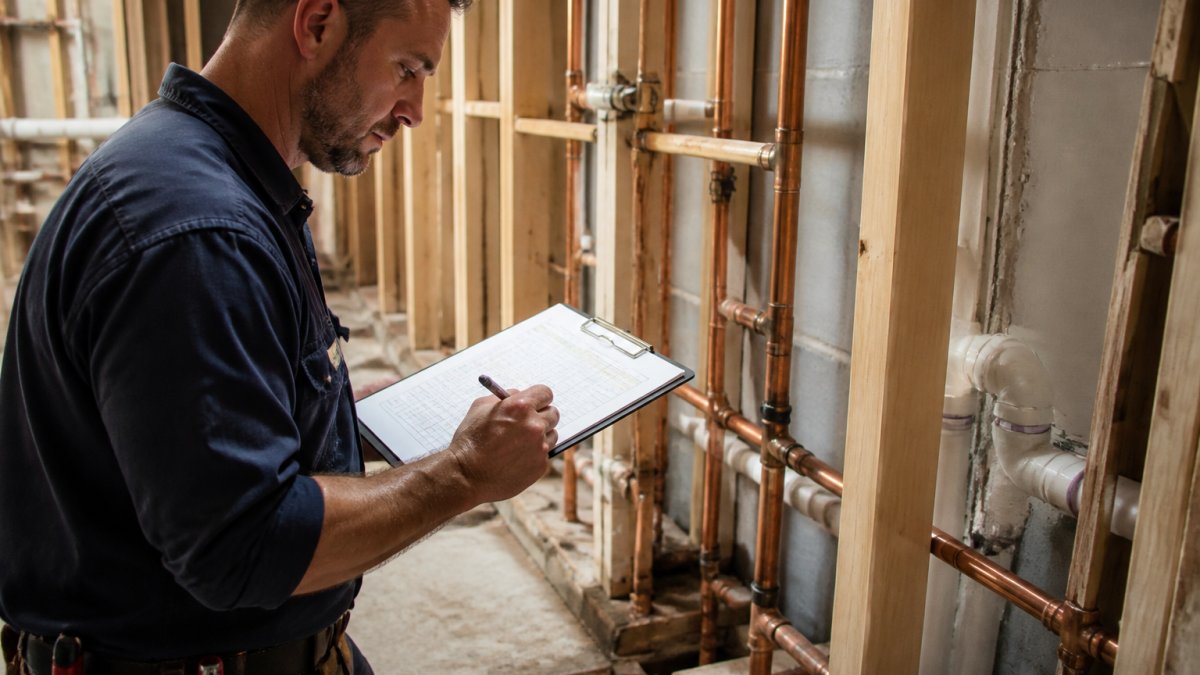
 how-to
How to Assess Plumbing Project Timelines: A Step-by-Step Guide
Table of Contents
- Why a Plumbing Project Timeline Needs Real Assessment, Not Guesswork
- Step 1: Assess Pipe Condition and Scope Before You Schedule Anything
- Step 2: Map Project Phases, Task Durations, and Dependencies
- Factors Affecting Plumbing Project Duration You Can't Ignore
- Step 3: Build a Plumbing Project Schedule Template
- Timeline Ranges by Project Type: Plumbing Renovation Timeline Benchmarks
- Step 4: Account for Uncertainty, Contingency, and Delays
- How to Compare Contractor Timelines Before You Sign
- Frequently Asked Questions
Last Updated: October 22, 2026
Why a Plumbing Project Timeline Needs Real Assessment, Not Guesswork
Plumbing project timelines are dated, sequenced plans mapping each phase of work, its duration, and its dependencies against real building conditions.
Most homeowners planning a kitchen or bathroom renovation, and most contractors scoping a new build, get a verbal estimate within minutes.
Below is a repeatable method for how to assess plumbing project timelines, step by step: inspect before you schedule, break work into phases, build a schedule template, and challenge a contractor's proposed dates before you sign.
Step 1: Assess Pipe Condition and Scope Before You Schedule Anything
You cannot schedule what you have not inspected. A real assessment starts with a physical look at the pipes, not a phone conversation; asking for a timeline before anyone has opened a cabinet or checked water pressure is a common mistake.
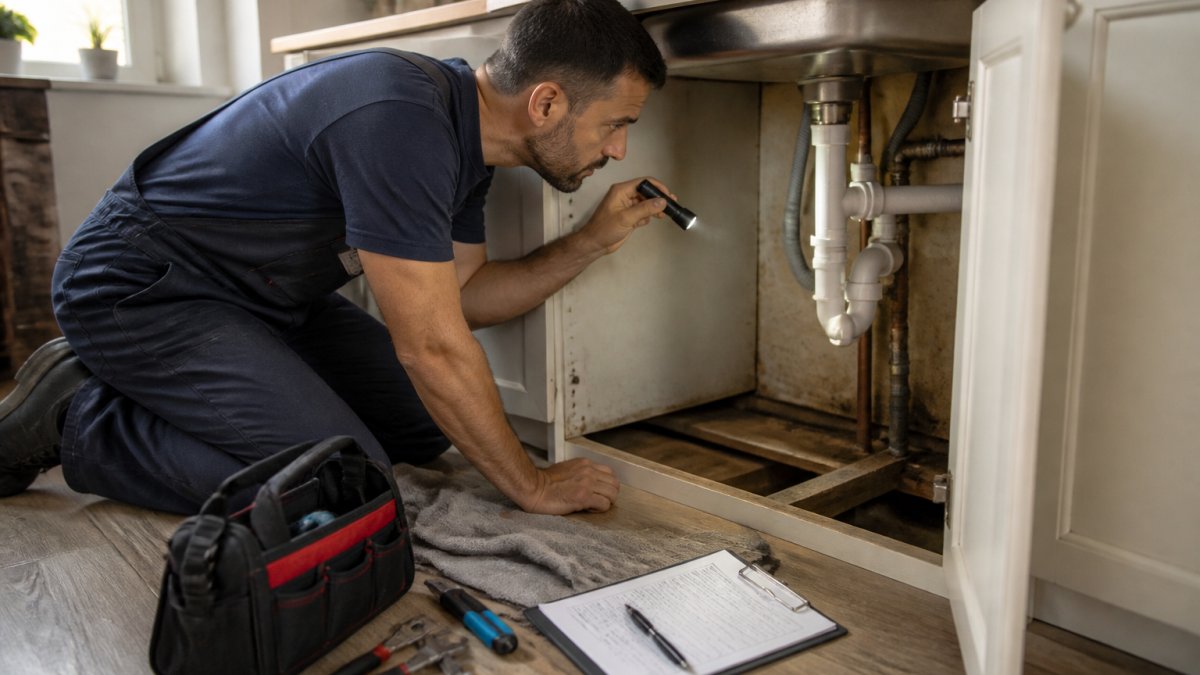
What an In-Home Assessment Should Cover
An in-home assessment is a documented walkthrough of the plumbing system, and it should produce findings you can act on. Ask for these checks:
- Visible pipes in basements, crawlspaces, and under sinks
- Signs of leaks: water stains, dampness, puddles, rust, corrosion
- Water flow and pressure at multiple fixtures
The U.S. Environmental Protection Agency's guidance on household plumbing is a useful reference for what a healthy system should look like. What most guides miss is documentation. Photos and notes from this walkthrough become the basis for project scope, and scope drives the schedule.
Turning Findings Into Project Scope
Project scope is the written list of work the job requires, built directly from assessment findings. If the inspection shows corrosion on a supply line section, the scope names that section; if drainage is slow, it includes a camera inspection of the drain.
Scope decisions change the timeline dramatically: a one-fixture repair takes a fraction of the time of a repipe running new lines through finished walls. Write the scope down, review it with your contractor, and only then estimate days.
Step 2: Map Project Phases, Task Durations, and Dependencies
Every plumbing project runs on four phases: design and planning, permits and inspections, rough-in work, and finish work.
Map it like this:
- List every task in the scope
- Estimate a duration for each task in days
- Note which tasks depend on others
- Identify the critical activities that hold up everything else
Work sequencing matters more than most people expect: rough-in plumbing must pass inspection before walls close, and final inspection must pass before fixtures go live.
Constraints also shape the plan: crew availability, building access, downtime limits for commercial jobs, and material delivery windows.
Factors Affecting Plumbing Project Duration You Can't Ignore
Several factors affecting plumbing project duration sit outside the work itself, and ignoring them is how schedules fail: permit processing time, inspection scheduling, and material lead times for specialty fixtures that can stretch a job well past the labor estimate.
Access is underestimated: a residential project with a clear basement is faster than a commercial job where crews work around operating hours.
Contractor availability and booking lead times also set the start date: if the crew you want is booked out, the calendar shifts regardless of how simple the work is.
Step 3: Build a Plumbing Project Schedule Template
A plumbing project schedule template is a simple document listing tasks, durations, start and end dates, dependencies, and the person responsible. You do not need software; a spreadsheet works fine.
What Every Schedule Should Include
- Task name and phase
- Estimated duration in days
- Start and end dates
- Dependencies and work sequencing
| Phase | Typical Tasks | Duration Driver | Dependency |
|---|---|---|---|
| Design and planning | Scope, fixture selection, layout | Decision speed | None |
| Permits and inspections | Application, review, rough-in inspection | Local review time | Approved plans |
| Rough-in | Supply and drain line install | Project size, access | Permit approval |
| Finish work | Fixtures, testing, final inspection | Material delivery | Rough-in inspection passed |
Timeline Ranges by Project Type: Plumbing Renovation Timeline Benchmarks
A plumbing renovation timeline varies widely by project type and scale, so treat any single number with suspicion.
| Project Type | Typical Active Plumbing Work | Typical Calendar Window (Including Waits) | Primary Duration Drivers |
|---|---|---|---|
| Single fixture replacement (faucet, toilet, shutoff valve) | 1 to 4 hours | Same day to 2 days | Part availability, shutoff condition, access |
| Fixture replacement with supply or drain modification | 4 to 8 hours | 1 to 3 days | Wall opening, line relocation, inspection |
| Bathroom remodel plumbing (tub, shower, vanity, toilet) | 2 to 5 days | 1 to 3 weeks inside the larger renovation | Fixture selection, drain relocation, rough-in inspection |
| Kitchen remodel plumbing (sink, dishwasher, ice maker) | 1 to 4 days | 1 to 2 weeks inside the larger renovation | Line moves, appliance specs, cabinet sequencing |
| Water heater replacement (tank or tankless) | 3 to 8 hours | 1 to 3 days | Venting, gas or electrical upgrade, permit |
| Drain line repair or replacement (sectional) | 1 to 3 days | 3 days to 2 weeks | Access, pipe material, camera findings |
| Whole-house repiping | 3 to 7 days | 1 to 3 weeks | House size, wall access, drywall repair, inspection |
| Sewer line replacement (exterior) | 1 to 3 days | 1 to 2 weeks | Trenching, permitting, utility locates, inspection |
| Commercial build-out (restroom, kitchen, or tenant improvement) | 1 to 4 weeks of phased work | 4 to 12 weeks | Plan review, staged inspections, trade coordination |
Read the table as two columns of information, not one.
Initiate Your Project Consultation →
A few patterns repeat across projects. First, any scope that moves a drain line costs more calendar time than the labor suggests, because drain work requires slope, venting, and inspection that supply-line swaps often avoid.
Use these benchmarks as a sanity check, not a substitute for your own assessment. If a proposed timeline falls well below its project type's range, ask what assumption is doing the work; if well above, ask which driver is responsible. Either answer tells you more about the contractor than the number itself.
Step 4: Account for Uncertainty, Contingency, and Delays
Uncertainty is not a flaw in your plan; it is a feature you plan around. Contingency is the buffer for what you cannot see yet: hidden damage behind walls, code corrections found at inspection, and material delays. Most guides say to add a buffer but never explain how much or where.
A disciplined approach adds contingency at two levels and expresses the result as a range rather than a single date.
Task-Level Buffer
Task-level buffer covers small overruns on individual steps, attached to the tasks most likely to run long rather than spread evenly. In plumbing, the routine overrunners are wall openings, drain line work in older buildings, and any task waiting on an inspection. Add a short buffer to those and leave predictable tasks, such as a straight fixture swap, unbuffered.
Project-Level Buffer
Project-level buffer covers the big unknowns, such as opening a wall and finding corroded pipe that was not visible during the assessment, or a failed inspection that requires rework. Size it to the building's age and condition rather than to the size of the job:
- New construction with documented materials: a small project-level buffer, because the unknowns are few.
- Mid-century home with partial updates: a moderate buffer, because some systems are documented and some are not.
- Older building with unknown pipe history: a larger buffer, because hidden conditions are likely rather than possible.
Express the Schedule as a Range
A single completion date hides uncertainty; a range makes it visible and gives you something to manage against. Present the schedule as an earliest, most likely, and latest case, naming the events that separate them, for example, the most likely case assumes the rough-in inspection passes first visit, the latest assumes one rework cycle. That framing lets you and your contractor agree in advance on what triggers a schedule update rather than arguing after the fact.
Name the Risks in the Schedule
List the specific risks identified during assessment and attach each to the phase it affects: hidden corrosion, failed shutoff valves that must be replaced before work proceeds, inspection rework, and specialty fixture lead times. Naming them turns surprises into planned events and gives the contractor a documented basis for a change order if one becomes necessary.
Finally, agree on how schedule changes will be communicated. A short written update at each milestone, with the reason for any shift and the revised range, keeps the project accountable and prevents small delays from becoming disputes.
How to Compare Contractor Timelines Before You Sign
Comparing contractor timelines is the last line of defense before you commit, and where most homeowners give up too easily.
Use this checklist to evaluate what you are handed:
- Does the timeline start from an in-home assessment, or from a phone call?
- Is the project scope written and matched to the schedule?
- Are permits and inspections shown as dated milestones?
- Are dependencies and work sequencing explained?
The answers separate a real plan from a sales pitch: a contractor who can explain the critical path and trade dependencies understands the job; one who cannot is guessing.
At New Creations Plumbing Service llc, our approach to project scheduling guidance from the U.S. General Services Administration follows the same discipline we apply on every job: assess first, scope second, schedule third.
Frequently Asked Questions
How do you estimate a timeline for a plumbing project?
Start with an in-home assessment to confirm pipe condition and project scope. Break the work into phases (demo, rough-in, inspections, fixtures, final inspection), assign a duration to each task, then sequence them by dependency. Add a contingency buffer of roughly 10 to 20 percent for hidden issues. Compare your draft against contractor estimates and ask each one to explain how they arrived at their numbers. A plumbing project timeline built this way holds up better than a single lump-sum guess.
What factors affect how long a plumbing renovation takes?
The biggest factors affecting plumbing project duration are project scope, pipe condition, permit and inspection lead times, material delivery, contractor availability, and building access. Older homes often hide corrosion or water damage that extends rough-in work. Commercial jobs add coordination with other trades and downtime limits. Weather rarely matters indoors, but exterior work does. A realistic plan names each factor, assigns a range to it, and builds contingency around the ones you can't control.
How can you tell if a plumbing project schedule is realistic?
A realistic plumbing project schedule template lists every task, its duration, and its dependencies, not just a start and end date. It includes permit and inspection milestones, material delivery dates, and a stated contingency. Ask the contractor which activities are critical and what happens if one slips. If the schedule has no buffer, no inspection dates, or no explanation of sequencing, treat it as optimistic. Cross-check against comparable projects and timeline ranges by project type.
What commonly causes plumbing projects to run behind schedule?
The most common causes are hidden pipe damage found after demo, permit and inspection delays, late material delivery, contractor availability gaps, and change orders that add scope mid-project. Poor work sequencing and trade conflicts on commercial jobs also push dates. You can reduce risk by completing a thorough in-home assessment, ordering long-lead materials early, confirming inspection windows, and agreeing in writing on how schedule changes are communicated and priced before work begins.
A plumbing project timeline is only as reliable as the assessment behind it. If you are planning a renovation or a commercial build-out and want a schedule built on evidence rather than guesswork, New Creations Plumbing Service llc can help. Our more than two decades of experience, rigorous safety protocols, and tailored project solutions mean we plan for what is actually there. Initiate your project consultation with New Creations Plumbing Service llc and get a timeline you can trust.