 how-to
How to Handle Emergency Pipe Repair for Commercial Buildings
Last Updated: October 26, 2026
Quick Summary
Shut off the water at the isolation valve or main shutoff first, then cut power to wet areas and call a licensed plumber for emergency pipe repair. Contain the water with buckets and tarps, photograph all damage, and log the time water stopped flowing for your insurance claim.
- Log the shutoff time and the time water stopped flowing to anchor your insurance timeline.
- Turn gate valves several full turns and ball valves a quarter turn to close them.
- Exercise main and zone valves annually, and quarterly on critical systems.
- A clamp on a corroded pipe usually fails again within weeks at the next weakest point.
- Build the claim file in the first 24 hours with photos, a plumber's scope, and a drying log.
Table of Contents
- First 60 Seconds: What to Do When a Pipe Bursts in a Commercial Building
- Your Commercial Plumbing Emergency Checklist, Step by Step
- Finding and Operating the Commercial Water Shutoff Valve
- Commercial Pipe Leak Detection: Pinpointing the Failure Fast
- Temporary Containment vs. Permanent Repair: Choosing the Right Fix
- Coordinating Safety, Water Damage Recovery, and Insurance Documentation
- Preventing Burst Pipes in Commercial Buildings
- Schedule Your Emergency Plumbing Consultation Before the Next Failure
- Frequently Asked Questions
First 60 Seconds: What to Do When a Pipe Bursts in a Commercial Building
A burst pipe in a commercial building is a water-supply pipe that has failed under pressure, releasing water uncontrolled into walls, ceilings, or floor cavities. The first 60 seconds decide how much damage your building takes.
Here's the uncomfortable truth most building managers learn too late: the pipe is rarely the expensive part. The Federal Emergency Management Agency guidance on water damage treats the first hours after water intrusion as the window that determines whether a building dries out or grows mold.
So act in this order:
- Shut off the water. Find the isolation valve or main shutoff and close it. Nothing else matters until the flow stops.
- Kill power to wet areas. If water is near outlets, panels, or ceiling fixtures, cut those circuits at the breaker.
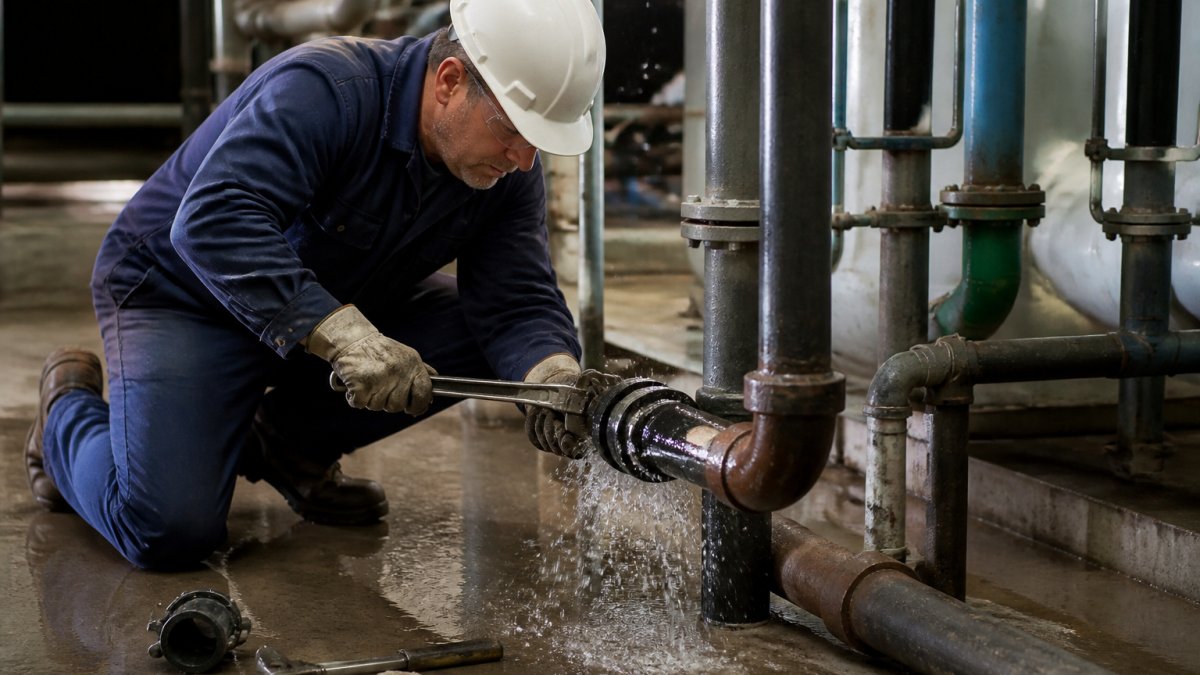
- Call for emergency pipe repair for commercial buildings. Get a licensed plumber moving while you contain.
- Contain and document. Buckets, tarps, and photos. You'll need the photos later.
Reading this mid-emergency? Our guide on what to do when a pipe bursts walks through the immediate steps, read it after the water is off.
Your Commercial Plumbing Emergency Checklist, Step by Step
A commercial plumbing emergency checklist is a pre-written sequence of actions staff follow the moment a leak is confirmed, so nobody improvises under pressure. Here's the one we'd hand to any property manager.
- Confirm the leak is active and identify the general zone
- Shut off the main water supply or the nearest isolation valve
- Cut electrical power to affected areas
What most guides miss is the last item. Logging the shutoff time anchors your insurance timeline and damage assessment, ten seconds that saves arguments later.
Locating the Source and Assessing the Damage
Finding the source is often harder than fixing it. Water travels along joists and pipe runs, so a first-floor ceiling stain may trace back to a supply line two floors up.
Assess damage in three tiers: structural (sagging ceiling tiles, soaked drywall, standing water), electrical (anything wet near conduit, panels, or junction boxes), and inventory (tenant goods, files, stock). Photograph all three before anything gets moved or thrown out.
Finding and Operating the Commercial Water Shutoff Valve
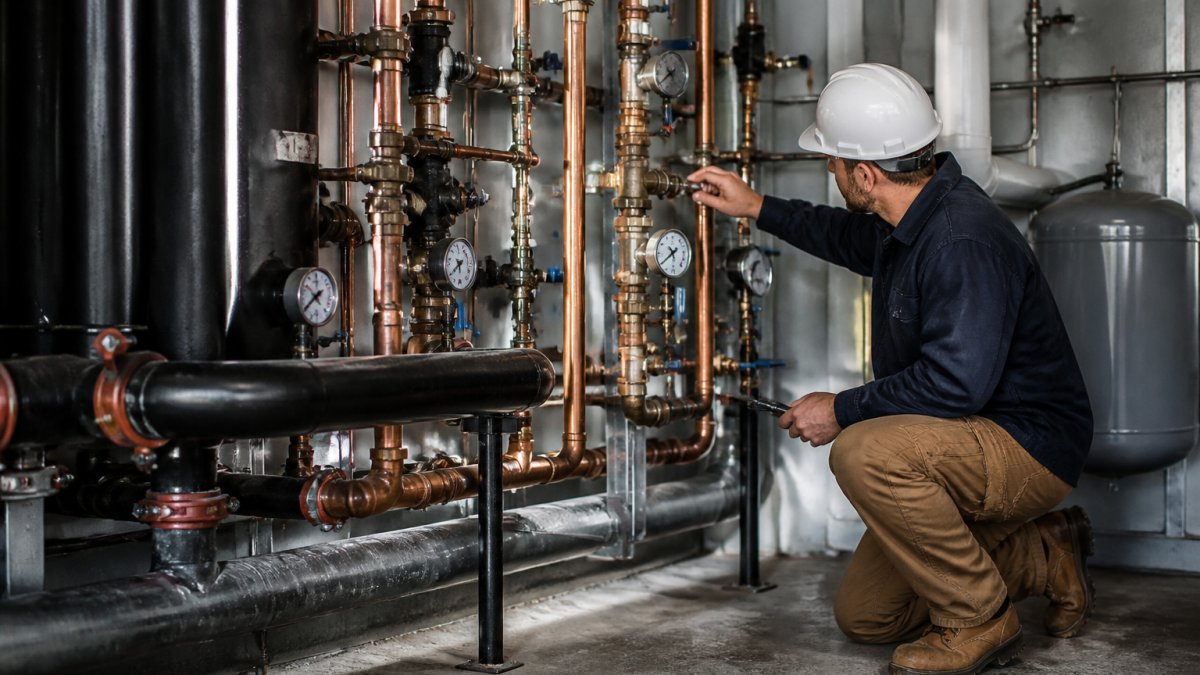
Every commercial water shutoff valve should be labeled, mapped, and reachable in under a minute, in practice, a surprising number aren't. The main shutoff stops water entering the building; isolation valves stop water to a single zone, riser, or fixture group.
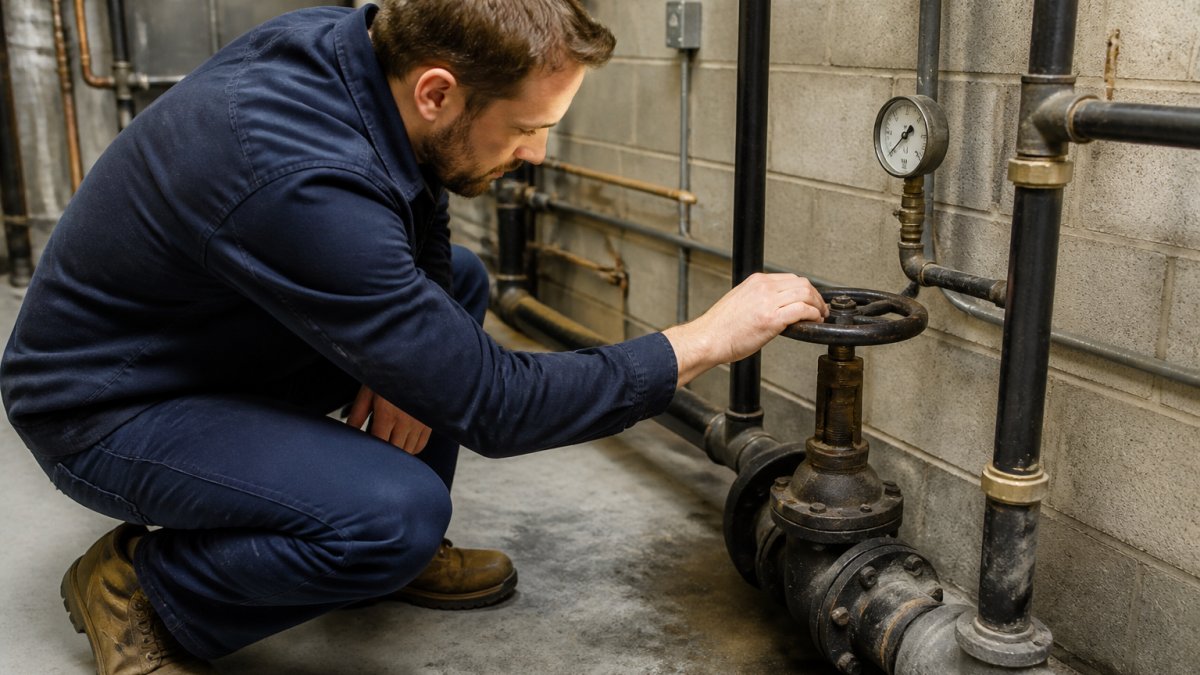
Turn the valve clockwise to close it. The Occupational Safety and Health Administration guidance on utility isolation treats clear labeling of isolation points as a basic safety control, and that applies to water as much as to power.
Building-Specific Shutoff Planning Before the Next Emergency
A generic shutoff plan fails in a real emergency. A multi-tenant office tower may have a main valve plus per-floor isolation, while a single-occupancy warehouse might have one valve at the meter.
Step 1: Walk the building with a plumber and trace every valve. Start at the meter or service entrance and work outward.
Step 3: Label with durable, weather-resistant tags. Use engraved plastic or metal tags with the valve ID, the zone it controls, and the date last exercised.
Step 5: Exercise the valves on a schedule. A valve that hasn't been turned in five years may not turn when you need it. Most facility teams exercise main and zone valves annually, quarterly on critical systems. Log the date, who exercised it, and whether it operated freely.
If you're planning ahead for a renovation or a system upgrade, our article on avoiding surprises in commercial plumbing projects covers how to build that foresight into the project scope.
Commercial Pipe Leak Detection: Pinpointing the Failure Fast
Commercial pipe leak detection is the process of finding the exact failure point in a plumbing system using pressure testing, acoustic listening, thermal imaging, or moisture meters. With pipes concealed in walls and beneath floors, guesswork costs money.
One insider point: shut off the zone before you start detection. A pressurized leak is easier to hear but harder to isolate. Depressurize, then test section by section.
Initiate Your Project Consultation →
Temporary Containment vs. Permanent Repair: Choosing the Right Fix
Containment stops the damage; repair restores the system. A pipe clamp or repair sleeve can seal a pinhole leak on a straight run briefly, but it's a temporary repair, not a solution. The framework:
| Situation | Best Move | Why |
|---|---|---|
| Active leak, building occupied | Contain, isolate, temporary clamp | Stops water loss now |
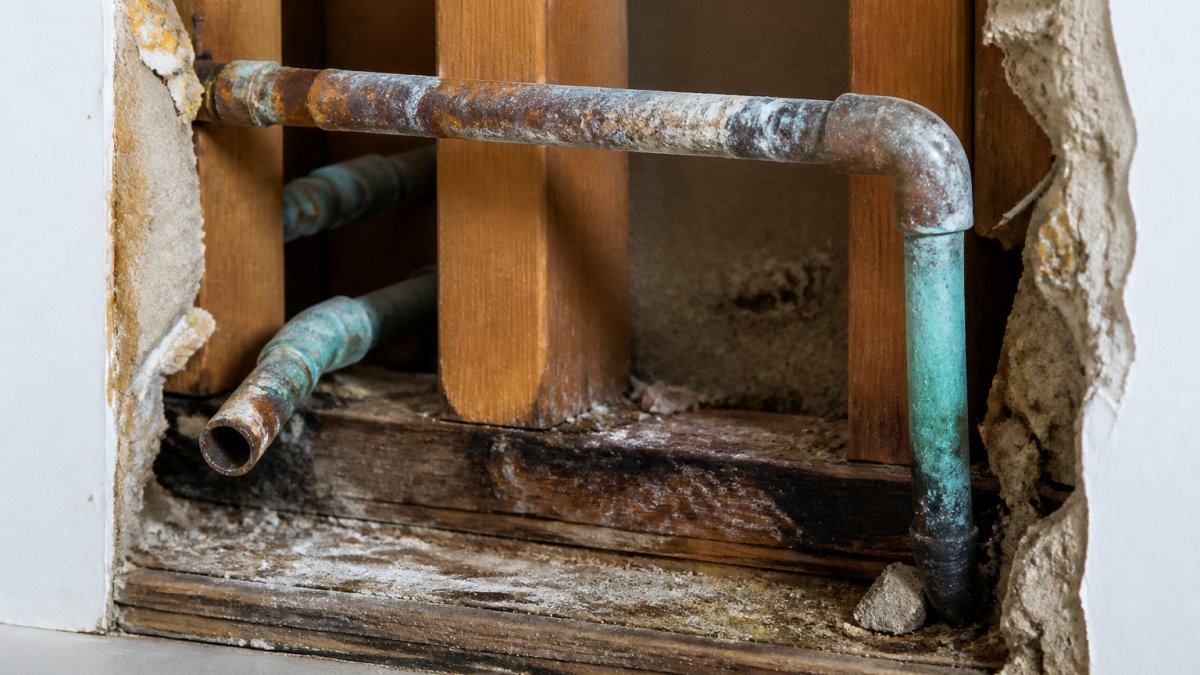
| Leak on a corroded section | Permanent repair or pipe replacement | Clamp will fail nearby |
| Leak under a slab | Trenchless repair or reroute | Excavation is disruptive |
| Leak in a wall cavity | Open, repair, restore | Access is the real cost |
| Leak on a joint or fitting | Cut out and replace the fitting | Clamps don't hold joints |
Watch out: a clamp on a corroded pipe usually fails again within weeks, often at the next weakest point. It buys time, not peace of mind. When you're ready to make the fix permanent, book a service call and repair to get the section properly replaced and tested.
Coordinating Safety, Water Damage Recovery, and Insurance Documentation
Safety coordination comes before recovery. Water and electricity are the dangerous combination: a ceiling with pooled water can collapse, and a wet electrical box is a shock hazard. Restrict access, cut power, and keep staff out of standing water near conduit. The gap most guides miss: plumbing, electrical, restoration, and insurance work must run on parallel tracks, not in sequence, and someone must own the handoffs.
Safety Coordination: Who Does What, and When
Assign roles before the incident, not during it. A practical split:
- Facilities lead, owns the shutoff, the valve map, and the decision to isolate a zone. Calls the plumber and the restoration contractor.
- Building engineer or electrician, confirms which circuits are wet, performs the lockout/tagout at the panel, and clears areas before anyone enters.
- Tenant contacts, notify occupants in affected zones, restrict access to wet floors and stairwells, and account for staff who may be working alone.
Evacuation triggers should be written down. A small utility-closet leak may only need a restricted-access sign; pooled water over an occupied office, a wet electrical panel, or water near a stairwell means restrict the area, cut power, and keep people out until the building engineer clears it. Put the triggers in the checklist so staff don't judge in the moment.
Water Damage Recovery: The Handoff Between Plumber and Restorer
Recovery runs on a schedule, and the plumber-to-restorer handoff is where timelines slip. The plumber stops the leak and confirms the system holds pressure; the restoration contractor extracts water, removes damaged material, dries the structure, and verifies moisture before rebuild.
A workable sequence:
- Stop the leak and isolate the zone. Plumber confirms the repair holds and the section is depressurized or restored to service.
- Extract standing water. Restoration contractor removes water from floors, cavities, and ceiling plenums before mold has a chance to establish.
- Remove unsalvageable material. Soaked drywall, insulation, and ceiling tiles come out; salvageable structural material stays and gets dried.
- Dry the structure. Air movers and dehumidifiers run until moisture readings return to dry-standard levels. This stage is not optional and not skippable under schedule pressure.
- Verify and document. Moisture readings, photos, and a written drying log go into the claim file before rebuild starts.
Skipping the drying stage traps moisture and invites mold. The Environmental Protection Agency's mold guidance is clear that moisture control is the first line of defense against mold growth in buildings, which is why the drying log matters as much as the repair invoice.
Insurance and Incident Documentation Checklist
Documentation runs in parallel with everything else. Insurers want a timeline, not a story, build the file as the incident unfolds:
- Time the leak was discovered and the time water was shut off
- Photos and video of the leak, the source, and each affected area before anything is moved
- Photos of damaged inventory, tenant goods, and building finishes
When the repair itself needs documenting for a claim, professional plumbing repair with a written scope gives your insurer something concrete to work from. The same applies to restoration: a written drying log and moisture readings separate a paid claim from a disputed one.
Preventing Burst Pipes in Commercial Buildings
Preventing burst pipes in commercial buildings comes down to pressure control, freeze protection, and inspection. Most failures we see trace back to excessive pressure, freezing, or corrosion nobody caught.
- Install a pressure-reducing valve where supply pressure runs high
- Insulate and heat-trace pipes in exterior walls and unheated spaces
- Drain and isolate lines in seasonal or vacant areas before cold weather
The Environmental Protection Agency's WaterSense program makes the case that routine system inspection and leak repair protect both the building and the water bill. Preventive maintenance is cheaper than emergency pipe repair for commercial buildings, every time.
Schedule Your Emergency Plumbing Consultation Before the Next Failure
The buildings that survive a pipe failure with minimal damage planned for it: a labeled shutoff map, a written checklist, and a plumber who already knows the building. That's the difference between a contained incident and a three-week shutdown.
New Creations Plumbing Service llc brings over two decades of experience to commercial plumbing emergencies, with evidence-based methodologies, rigorous safety protocols, and disciplined budget management. We minimize downtime and tailor solutions to your building, not a template. To get a plan in place before the next failure, request a comprehensive construction and maintenance consultation.
Frequently Asked Questions
What should you do first when a pipe bursts in a commercial building?
Shut off the water at the main valve before anything else. Every minute of flow adds to water loss and damage. Then cut power to any flooded area at the breaker, keep occupants out of the affected zone, and call a 24/7 emergency plumber. Document the scene with photos as you go, since your insurer will ask for evidence of the damage and the timeline.
How do you shut off water to a commercial building?
Find the main shutoff valve, usually in a utility room, basement, or exterior vault, and turn it clockwise until it stops. Large buildings often have zone valves for separate risers or tenant spaces, so close those too if water keeps flowing. If the valve is seized or you cannot locate it, call your plumber and the water utility. Label every valve now, before an emergency, so anyone on staff can act.
Can a commercial building stay open after a pipe bursts?
Sometimes, but only after the water is stopped and the area is assessed. If the leak affects electrical panels, ceilings, or a main exit path, close that section or the building until it is safe. Health care, food service, and retail spaces face additional rules on water damage and sanitation. A quick damage assessment with your plumber and insurer determines what can stay open.
How can you limit water damage while waiting for a plumber?
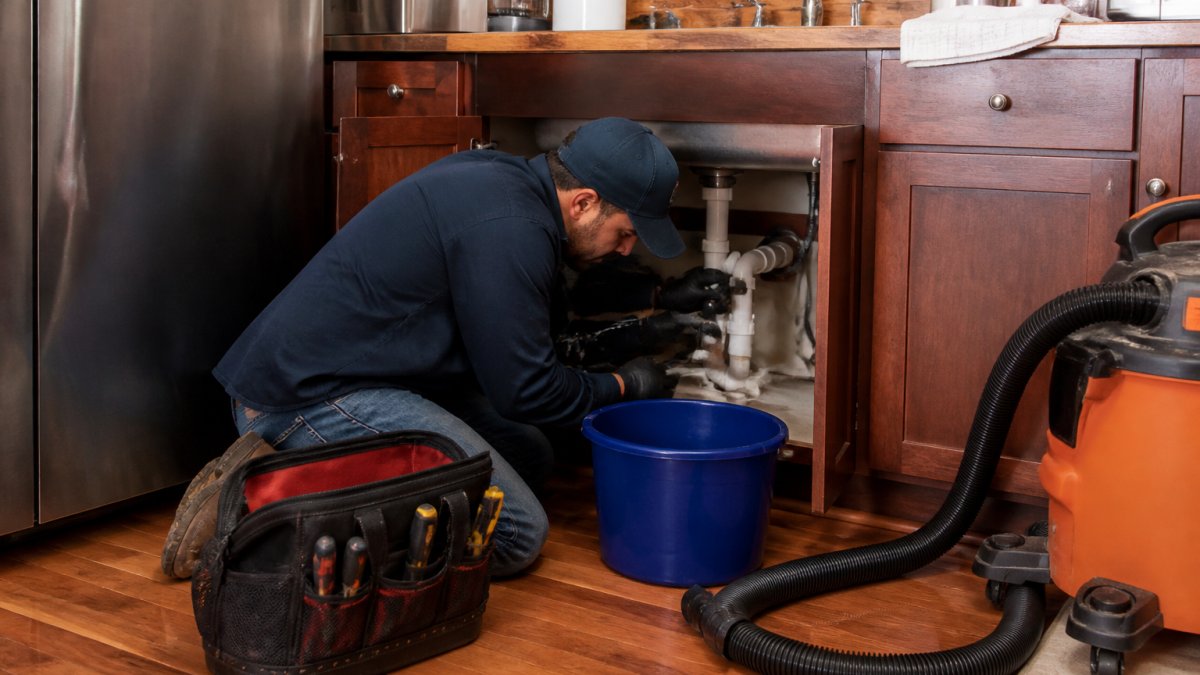
After shutting off the supply, contain the spread: use towels, buckets, and wet vacuums, and move equipment and inventory off wet floors. Place drip pans under active leaks and open doors to improve airflow. Do not drill into walls or tear out material before documentation, and never enter standing water near electrical outlets. Photograph everything, then call your insurer's claims line while you wait.
A burst pipe is a test of preparation, not luck. If your building doesn't have a shutoff map and an inspection schedule yet, that's the gap worth closing this month. Get started with New Creations Plumbing Service llc and turn your next plumbing emergency into a contained event instead of a crisis.